Style guide
How to Dress for Your Body Shape: The Complete Style Manual
Dressing for your body shape starts with the effect you want from an outfit. Notice where a neckline, waist seam and hem draw the eye; choose the cut and fabric that make the garment sit comfortably; then keep the combination you like. A body-shape label can suggest pieces to try, but it cannot decide your style or predict how a particular size will fit.
If you want a starting description of your proportions, see the body-shapes guide and how to measure. You can also skip labels and use the garment tests below.
Core Optical Rules of Dressing
Decide where the outfit leads the eye
A neckline frames the face and upper body; a belt or waist seam marks the middle; a pocket, pleat or hem emphasizes the place where it sits. Optical balance is the distribution of visual weight across an outfit, not a requirement to make every body look the same. Clothing-design guidance from Utah State University Extension describes balance, proportion and emphasis as choices shaped by line, color, texture and garment details. Try changing one feature at a time so you can see its effect.
For example, compare an open V neckline with a wide boat neckline, or a plain skirt with one that has pleats. The V makes a longer line down the front; the boat neckline creates a wider horizontal line at the shoulders. The pleats add movement and volume around the skirt. These are visual options, not rules tied to a diagnosis or a ranking of bodies. USU Extension’s guide to clothing design elements explains how structural lines such as seams, darts and edges direct attention.
Balance volume, structure and drape
If one piece is roomy, compare it with a closer-cut companion: a loose blouse with straight trousers, or a fitted top with a fuller skirt. You can also repeat volume throughout for a relaxed silhouette. A structured blazer holds its outline; a soft wrap top follows the body more closely. Neither is universally better. Check how the fabric weight behaves when you stand, sit and move, and whether the intended shape survives those movements.
Use color blocks in the same way. A continuous color can make an outfit read as one line; a contrasting top or waistband creates a focal point. Choose the effect that fits the occasion and your taste.
Check fit before judging a silhouette
The right design in the wrong size may pull, gape or ride up. Check the shoulders, bust or chest, waist, fullest hip and rise separately, depending on the garment. For trousers, start with comfortable room at the fullest hip and then assess the waist and how the legs hang. New Mexico State University Extension’s pants-fitting guide treats hip fit and waist adjustments as distinct steps. A different size, cut or alteration often changes the outcome more than switching body-shape categories.
Quick Reference Styling Matrix by Silhouette
The five descriptions below are starting points for trying cuts, not prescriptions. The same garment may create different lines depending on its exact fit, fabric and length. If you identify with more than one row, borrow ideas from both.
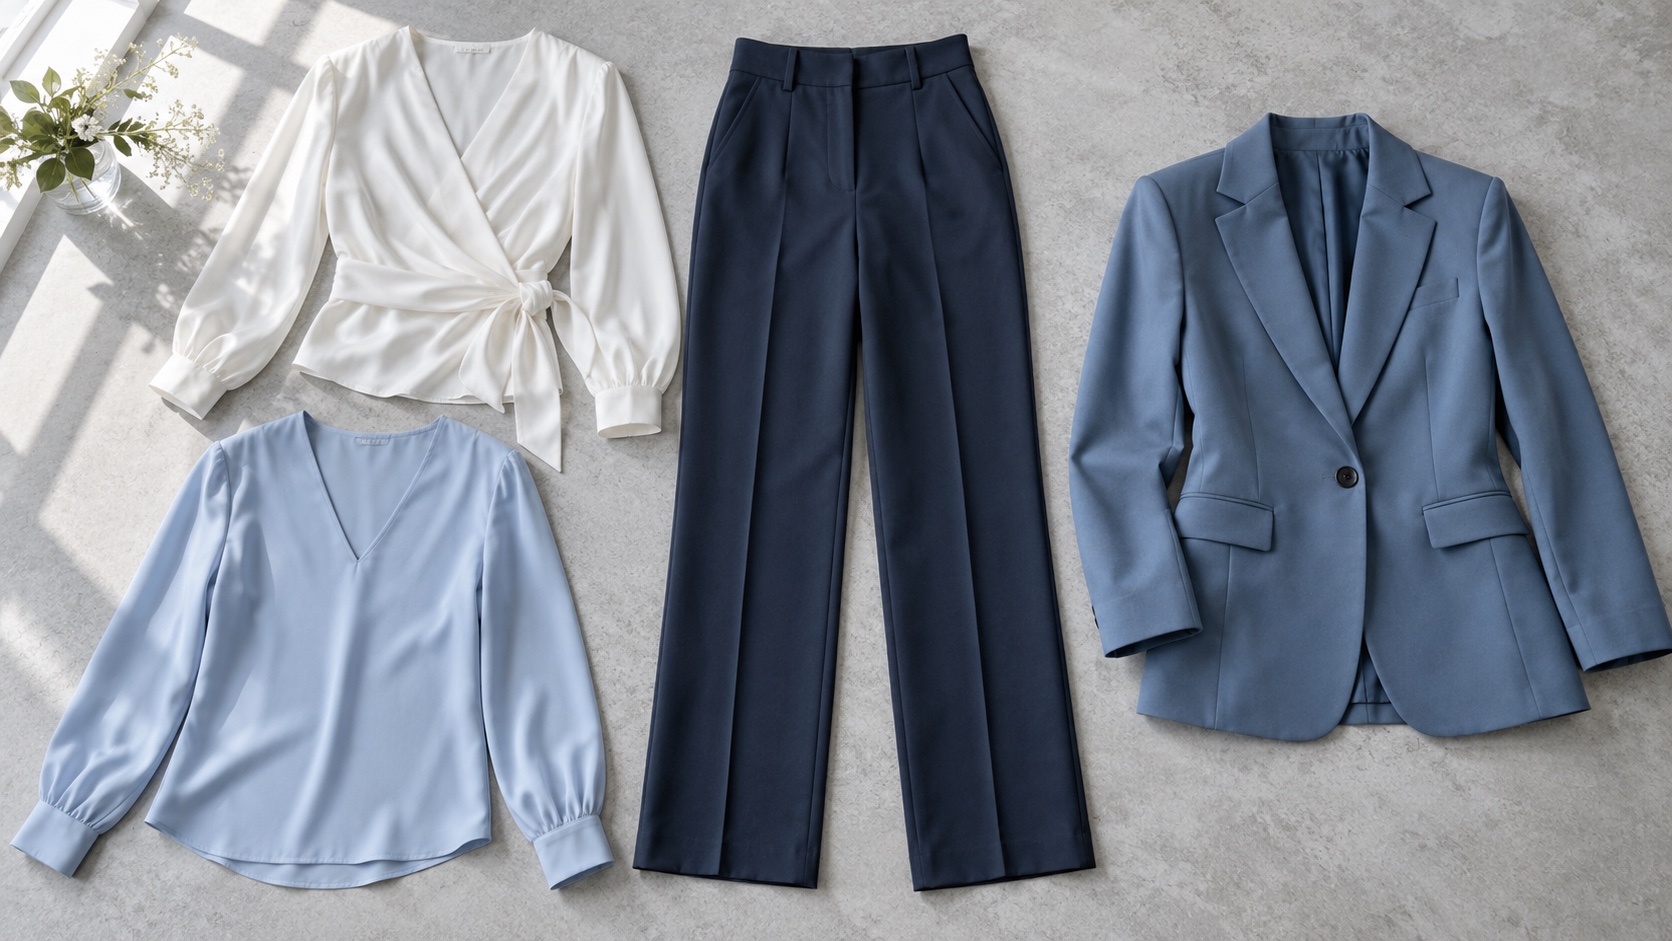
On a narrow screen, swipe the table sideways to compare all four columns.
| Silhouette description | Necklines and tops to compare | Dresses and skirts to compare | Trousers and jackets to compare |
|---|---|---|---|
| Hourglass: bust and hips of similar width with a defined waist | Open V, scoop or wrap tops; compare a fitted and a relaxed waist | Wrap or fit-and-flare cuts; check where the waist seam lands | Straight or wide legs with enough hip room; shaped jackets or a relaxed blazer |
| Pear / triangle: hips wider than the upper body | Boat, square or detailed necklines if you want more visual weight above | A-line or softly flared skirts; compare the flare start | Straight or wide legs; jackets ending above or below the fullest hip |
| Apple / oval: fuller middle relative to hips | Open necklines and tops that skim without pulling | Empire, wrap or straight dresses; compare seam placement and ease | Straight-leg trousers; open-front jackets with comfortable room through the middle |
| Rectangle: less waist indentation in the outline | Fitted, layered or boxy tops, depending on the line you want | Belted, wrap or straight dresses; compare defined and uninterrupted waists | Pleated or straight legs; belted or unbelted blazers |
| Inverted triangle: shoulders or upper body wider than hips | Open V, simple or wider necklines to compare where attention sits | A-line or fuller skirts if you want more volume below | Straight or wide legs; jackets with clean shoulders and varied hem lengths |
Try the matrix in front of a mirror or in photos taken at the same angle. Change one feature, such as neckline or trouser width, while keeping the rest of the outfit similar. You may prefer a silhouette that contrasts with the row associated with your shape; that preference is the useful result.
Exploring Dedicated Garment Guides
For closer fit examples, read the guides to hourglass, pear, apple, rectangle and inverted-triangle silhouettes. The spoon guide covers a fuller high hip and why waist and upper-hip fit can differ. These pages describe shape categories; garment-specific guides will expand the clothing examples.
Once you have one or two outfit ideas, test them in the clothes you own. Check where seams sit, whether fabric pulls, and whether you enjoy the overall line. Your best working wardrobe can include several silhouettes rather than one formula.