Measuring guide
How to Measure Your Body Shape Accurately at Home
To measure your body shape at home, record your bust, natural waist, and full-hip circumferences with a flexible tape, then compare your shoulder width with your hips from the front. Keep the tape level, let it rest gently against your clothing or body, and use the same unit for all three numbers. These four checkpoints give you a repeatable starting point; a shoulder observation is different from a circumference and is considered separately.
If you want a quick result after measuring, enter the three circumferences in our measurement calculator. You can also read the body-shapes guide to see what the common silhouette names describe.
Tools You Need Before You Start
- A flexible, non-stretch dressmaker’s measuring tape.
- A full-length mirror, or someone who can check the tape across your back.
- Close-fitting clothing or well-fitting undergarments, so bulky fabric does not add to the measurement.
- A note or phone to record each number and the unit you used.
Stand in your usual relaxed posture with your feet comfortably placed and arms at your sides. Do not draw in your waist or hold your breath. Take each measurement snugly without pulling the tape into the body. New Mexico State University Extension’s pattern-fitting guide recommends a non-stretch tape, normal posture, and snug rather than tight measurements.
Step-by-Step Measurement Guide
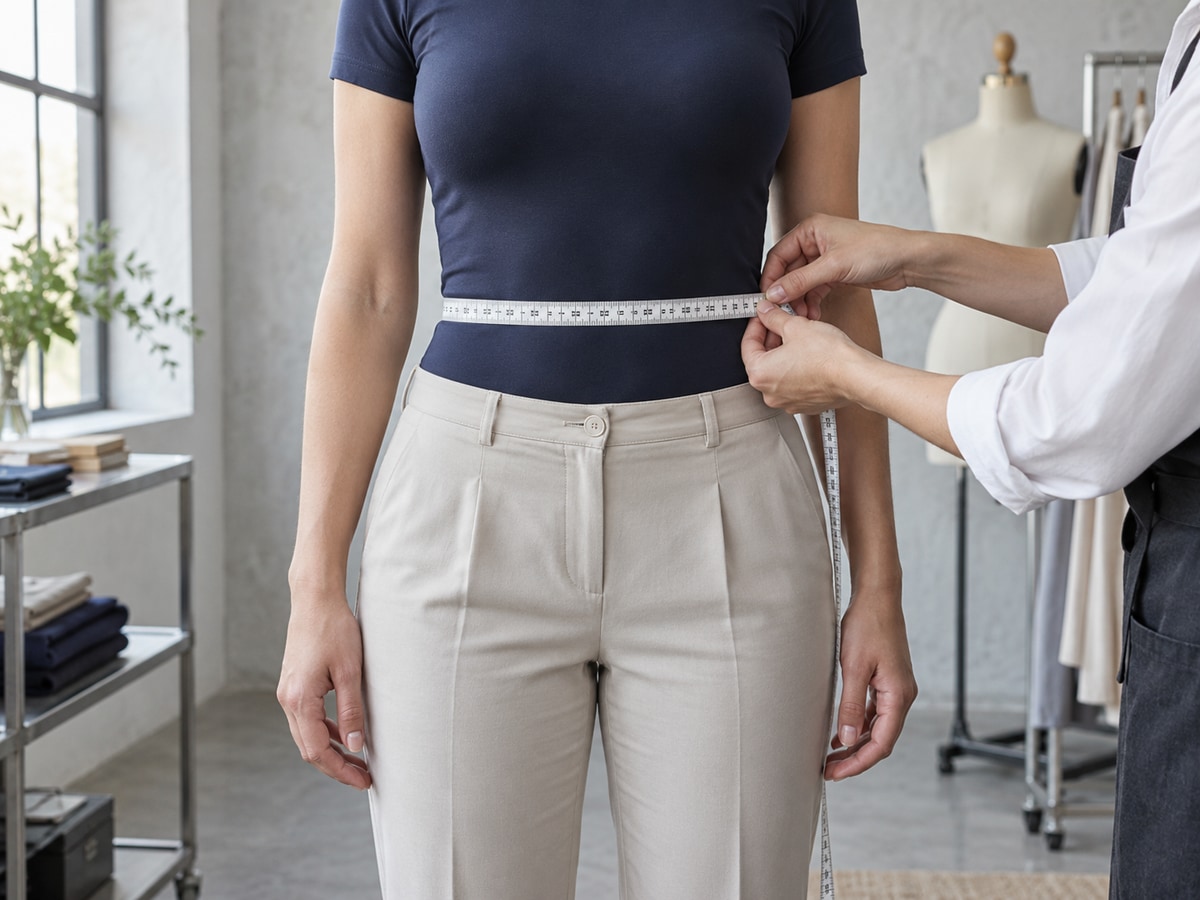
1. Compare your shoulders
Face the mirror with your arms relaxed and look straight ahead. Notice whether the outside of your shoulder line appears wider than, narrower than, or about as wide as the widest point of your hips. Record “unsure” if it is difficult to tell. This is a width observation, not a tape measurement around the shoulders, and the calculator does not use it in a numeric ratio.
2. Measure your bust
Wrap the tape around the fullest part of your bust and across your back. Check in the mirror or ask a helper to confirm that it stays horizontal all the way around. Keep it close without compressing clothing or skin, and write down the circumference as B. NMSU’s measurement instructions also place the full-bust measurement at the fullest point and keep the tape parallel to the floor across the back.
3. Measure your natural waist
Find your natural waist around the torso’s bend, often near its narrowest point; it may be above the waistband of your trousers. A loose cord can help mark the same level all the way around. Breathe normally and wrap the tape horizontally at that level without cinching it. Record this circumference as W. The NMSU fitting guide describes marking the waistline with a cord before measuring.
4. Measure your full hips
Wrap the tape around the fullest part of your hips and seat, rather than at a fixed distance below your waist. Check the tape from the side as well as the front; it should be level all the way around. Record the circumference as H. The NMSU guide likewise places the full-hip measurement at the fullest point and advises checking whether the widest point is at hip or thigh level.
Measure again if the tape twisted, sloped down at the back, or crossed thick clothing. A small change in placement can matter when your ratios sit near a cutoff. Use the same tape and unit when you recheck.
Calculating Your Silhouette Ratios
Divide measurements taken in the same unit. B ÷ H compares bust and hip circumferences; W ÷ H and W ÷ B show the waist relative to each. Our calculator displays those three ratios. Its classification also uses W ÷ the larger of B and H to check middle-to-upper/lower contrast, and W ÷ the smaller of B and H to check waist definition.
For example, if B is 38 inches, W is 29 inches, and H is 40 inches, B ÷ H is 0.95, W ÷ H is 0.73 when rounded to two decimals, and W ÷ B is 0.76. Inches cancel out in each ratio; the same measurements in centimeters give the same ratios. At exactly 0.95, our method returns a mixed or borderline result rather than forcing a single label.
This site’s descriptive cutoffs work in this order: W ÷ max(B, H) at or above 0.90 suggests apple-leaning proportions; otherwise B ÷ H below 0.95 suggests pear and above 1.05 suggests inverted triangle. Between those values, W ÷ min(B, H) at or below 0.75 suggests hourglass; otherwise it suggests rectangle. A result within 0.01 of a relevant cutoff, or a shoulder observation that conflicts with the calculated upper/lower balance, is marked mixed. These are this calculator’s rules, not universal body-shape standards.
If the ratios and what you see in the mirror disagree, keep both observations. Bust circumference cannot measure shoulder breadth. Use the body-shapes comparison for the meaning of each label, then compare how garments actually fit you. A shape name can guide an experiment with seams, hems, and volume; it does not prescribe an outfit.